iCloud Verification Code Not Sending Philippines | Apple ID 2025 Fix
iPhone users across the Philippines frequently encounter verification code delivery failures when attempting to create a new Apple ID or set up iCloud during initial device onboarding. The iOS Setup Assistant commonly halts with notifications stating “Could Not Connect to iCloud” or “Verification codes can’t be sent to this phone number at this time.” This issue predominantly affects mobile numbers registered on major Philippine telecommunication networks—including Globe Telecom, Smart Communications, DITO Telecommunity, TM, and TNT.
This guide covers safe checks for a delayed or rejected verification code. The error does not identify a carrier-side root cause, and the steps cannot guarantee delivery or permanent account access.
Technical Causes Behind SMS OTP Routing Failures in the Philippines
Possible causes include a number-format error, delayed carrier delivery, rate limiting after repeated requests, an account security restriction, network conditions, or an Apple service issue. The screen alone cannot distinguish them.
Do not attribute a failure to A2P congestion, carrier filters, or SIM-registration database synchronization unless the carrier or Apple confirms that diagnosis for the affected line.
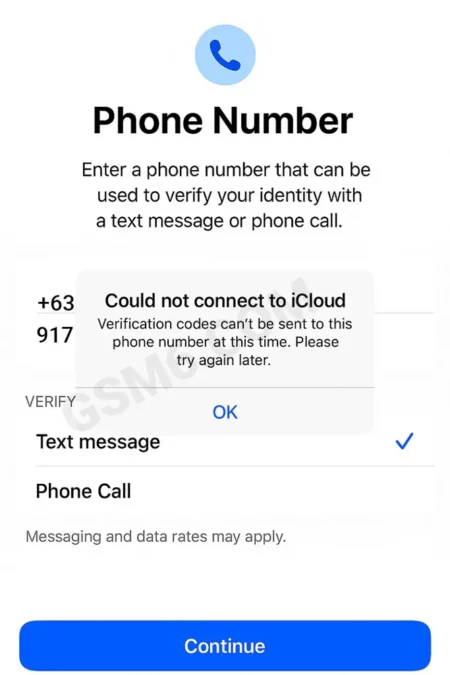
The Recommended Solution: Voice Call Verification or Desktop Client
Attempting to repeatedly resend the verification code from the initial iOS setup screen often triggers automated Apple security rate limits, resulting in temporary 24-hour locks.
Use the automated phone-call option if Apple offers it, or try another Apple-supported account-creation interface. Both still require accurate details and a reachable trusted number.
Step-by-Step Procedure to Fix Apple ID OTP Delivery in the Philippines
Follow these five stages to complete initial setup and verify your local mobile number.
1. Initiate Account Creation via Web or Desktop
Instead of battling carrier filters during device setup, create the account using a computer.
- Open a web browser on a computer and navigate to account.apple.com.
- Alternatively, open the Apple Music or Apple TV app on a Windows PC or Mac.
- Select Create Your Apple ID.
2. Enter Accurate Registration Details
- Enter your true legal name and your actual date of birth. (Do not fabricate an adult birth date, as this can cause recovery issues later).
- Select Philippines as your country or region.
- Choose a new iCloud email address or provide your existing third-party email.
- Create a secure password containing uppercase, lowercase, numbers, and symbols.
3. Utilize the Phone Call Option for Verification
When you reach the phone number verification stage:
- Enter your active Philippine mobile number.
- Select Text Message initially. If the SMS fails to arrive within 1-2 minutes, do not spam the resend button.
- Instead, select Didn’t get a code? when available.
- Choose Phone Call if Apple offers it. Availability and delivery are not guaranteed for every line.
4. Sign In on Your iPhone
Once your account is successfully verified and created on your computer:
- Power on your iPhone.
- If in the setup wizard, simply log in with your newly created Apple ID.
- If already on the home screen, go to Settings > Sign in to your iPhone and enter your credentials.
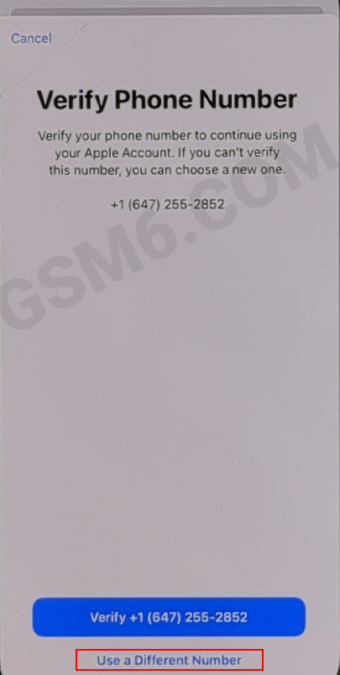
Selecting alternative number entry in Apple Account settings.
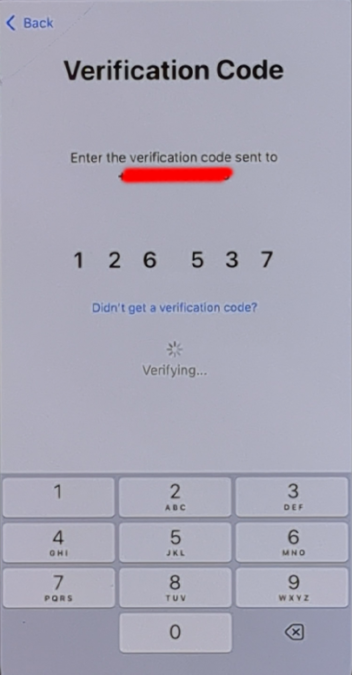
OTP verification code successfully confirmed.
5. Finalize Local Store Region and Address Settings
Keep the account country or region aligned with your actual residence, billing method, subscriptions, and Apple guidance. Do not change regions merely to force verification.
- Open the App Store app.
- Tap your profile picture in the top-right corner.
- Tap your name/email address to open Account Settings.
- Tap Country/Region > Change Country or Region.
- Scroll down and select Philippines.
- Agree to the Terms & Conditions.
- Under Payment Method, select None.
- Fill in your valid Philippine billing address, city, and local postal ZIP code.
- Tap Done. Your App Store will reload into the Philippine regional catalog.
Troubleshooting Persistent SMS Delivery Issues
If your Philippine SIM still does not receive verification codes after following the in-system method:
- Check line status with the carrier: Confirm that the line is active and can receive the selected message or call type. Ask the carrier about blocks on the affected line rather than assuming a balance threshold.
- Request a phone call when offered: On the verification screen, tap Didn’t get a code? and choose the call option if present.
- Confirm current SIM registration requirements: Use only the carrier’s official support channel; registration rules do not prove why one Apple code failed.
Video Tutorial: Apple ID Phone Number Verification Fix
The video below shows one historical interface. It does not establish an Apple-supported bypass; follow the current prompts and use a reachable number you control.
Summary and Account Security Tips
Keep two-factor authentication enabled and review trusted phone numbers under Settings > Apple Account > Sign-In & Security. Add a second trusted number you control when available, and contact Apple Support if supported delivery methods continue to fail.