Flash Google Pixel without Unlocking Bootloader: ADB Sideload Guide
Google publishes signed Full OTA packages that stock recovery can apply to eligible Pixel devices. Sideload is an update mechanism, not a general unbrick method, and the package must match the exact model and an allowed source build/state.
Unlike an unlocked factory-image flash, Full OTA sideload can operate through stock recovery with the bootloader locked and is normally designed to preserve user data. Back up first: a failed update, existing storage fault, recovery action, or later factory reset can still cause data loss. Sideload alone does not guarantee Play Integrity or application behavior.
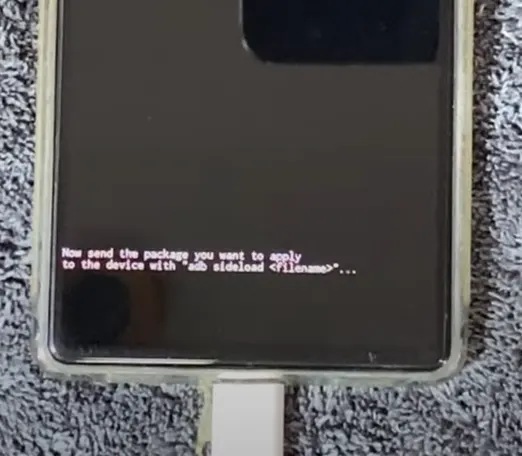
Google Pixel in ADB Sideload Mode within Stock Android Recovery
Full OTA Sideload vs Factory Image Flashing
Understanding the technical distinction between Android update formats clarifies why sideloading is safe for daily devices:
| Feature | Full OTA Image (ADB Sideload) | Factory Image (Fastboot) |
|---|---|---|
| Bootloader State | Locked (Green State) | Unlocked Required (Orange State) |
| User Data Impact | Designed to preserve data; backup still required | flash-all commonly includes -w; inspect the script |
| Cryptographic Verification | Validated by recovery public keys | Verified against custom or unlocked boot parameters |
| Integrity & Banking Apps | Not guaranteed by the installation method | Depends on device state and complete stock configuration |
| Downgrade Capability | Package eligibility and rollback protections apply | Unlocking does not override every rollback boundary |
Stock recovery inspects the digital signature of the incoming .zip archive before transferring blocks to system partitions. If the image is altered, corrupted, or older than the device’s current security patch, the stock recovery engine rejects the payload automatically.
Pre-Update Requirements and Checklist
Before beginning, ensure your hardware and workstation satisfy the following conditions:
- Battery Reserve: Charge your Pixel to at least 50% capacity to ensure steady voltage during partition writing.
- Physical Cable: Use an authentic, data-capable USB-C cable connected directly to a rear motherboard USB port (avoid USB hubs).
- Firmware eligibility: Use Google’s Full OTA table and instructions for the exact model. Build-number ordering alone is insufficient; rollback and source-build restrictions can apply.
| Component | Function | Source Reference |
|---|---|---|
| Android SDK Platform-Tools | Command-line binaries (adb) for host-to-device communication | Platform Tools Setup |
| Official Full OTA Image | Cryptographically signed system update archive from Google | Google Developers OTA Portal |
| Google USB Drivers | Hardware driver enabling recovery enumeration on Windows | Android USB Driver Setup |
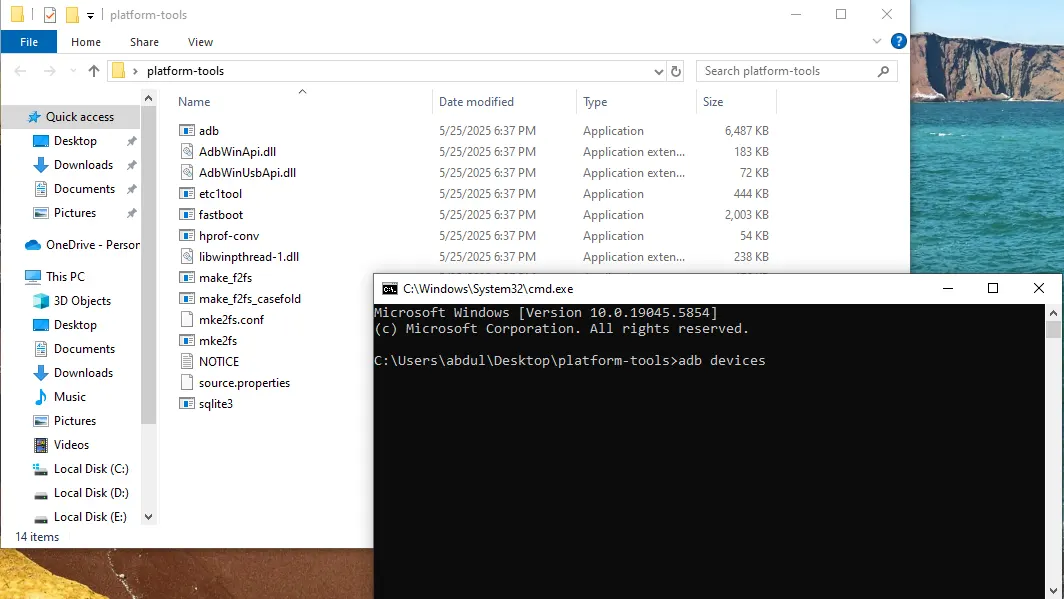
Android SDK Platform-Tools Directory Setup
Step-by-Step ADB Sideload Guide
Follow these numbered steps sequentially to update your Pixel device safely.
1. Download Android Platform Tools and official Pixel OTA image
Download the official Android SDK Platform-Tools package for your operating system (Windows, macOS, or Linux) and extract it to a clean path, such as C:\platform-tools.
Visit Google’s official developer OTA portal, locate your exact Pixel model codename (e.g., “husky” for Pixel 8 Pro, “tokay” for Pixel 9), and download the latest Full OTA zip archive. For command simplicity, place the downloaded .zip file directly into your platform-tools directory.
2. Enable developer options and USB debugging
On your Google Pixel:
- Open Settings > About phone.
- Scroll to the bottom and tap Build number seven consecutive times until you see “You are now a developer.”
- Navigate to Settings > System > Developer options.
- Scroll down and toggle USB debugging to On.
- Connect your phone to your computer, accept the on-screen RSA prompt, and check Always allow from this computer.
3. Reboot the Pixel into stock recovery mode
Open Command Prompt or Terminal in your platform-tools folder and execute:
adb reboot recoveryThe device will reboot and display the classic Android mascot lying on its back with an open access panel and the text No command.
To expose the recovery menu:
- Press and hold the physical Power button.
- While holding Power, press the Volume Up button once and immediately release both keys.
4. Engage apply update from ADB in recovery menu
The text-based Android Recovery interface will appear on screen.
Using the physical Volume Down key, navigate through the options and highlight Apply update from ADB. Press the physical Power button once to confirm.
The bottom of the display will output: Now send the package you want to apply with "adb sideload <filename>" to the device...
5. Execute ADB sideload and reboot into updated Android
In your computer’s terminal, verify that the computer recognizes the handset in sideload status:
adb devicesThe output will confirm your serial number followed by the state sideload. Now transmit the update package:
adb sideload update.zip(Replace update.zip with the actual filename of your downloaded OTA archive).
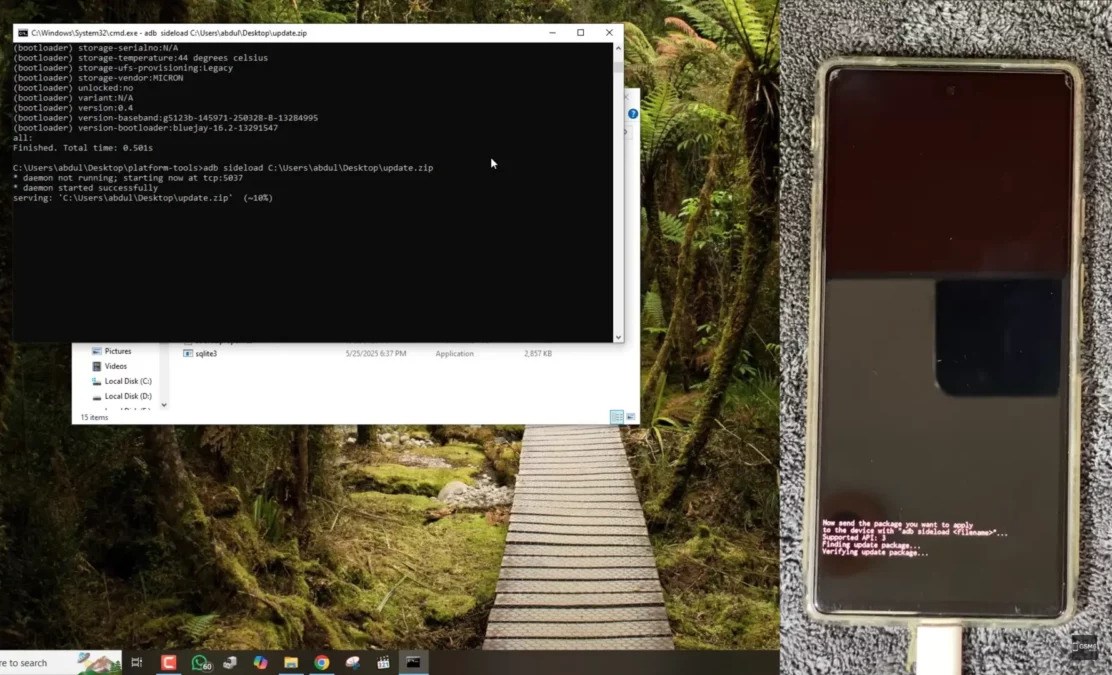
ADB Sideload Installation Progress on Google Pixel
During installation:
- The terminal will display progress percentages. It is completely normal for the progress counter to pause around 47% or 94% while the device unpacks payloads and verifies partition hashes in flash memory.
- Do not disconnect the USB cable during this phase.
Once the terminal outputs Total xfer: 1.00x and the phone screen confirms Install from ADB completed with status 0, highlight Reboot system now on the recovery menu and press the Power button.
If recovery reports success, reboot and verify the installed build and ordinary device functions. Confirm the backup remains usable; do not treat one successful status line as a guarantee that every file or application is intact.
Video Demonstration
Watch this recorded service demonstration detailing the entire ADB sideload procedure on Google Pixel hardware: